


Emissary Development Paddle Shifter: Performance Guide
Published on: February 15, 2026
Reading time: 9 mins 8 secs
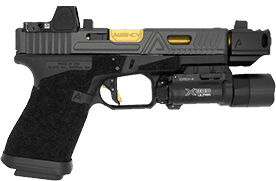
The Emissary Development paddle shifter moves the light switch so you can use it with your support-hand thumb. It’s made to help you keep a high firing grip while turning on your weapon light.
The design aims to reduce grip changes that pull your sights off target. That helps you keep better control of your trigger and sight picture when you turn the light on.
Many shooters and reviewers say paddle shifters make light activation easier and more natural. People who train or compete often find the change helps them work the light without fumbling.
This guide explains how these paddle shifters are built, how to install them, and how people use them in real life. Read on if you want a clear look at whether this upgrade fits your shooting needs.
Emissary Development Paddle Shifter for Streamlight TLR-7A
Highlights
- Emissary Development paddle shifters move light switches to your support-hand thumb’s natural resting position.
- They eliminate grip changes needed to activate weapon lights.
- They provide larger, textured surfaces for reliable operation under stress.
- They reduce thumb-trigger interference on compact pistols.
- They install as drop-in replacements without permanent modifications.
How Paddle Shifter Technology Works
Modern Grip Fundamentals and Light Activation Challenges
Modern shooting training favors a thumbs-forward, high grip to control recoil and speed up follow-up shots. You get better recoil management and faster returns to target when your hands sit high on the pistol.
With a high grip, your support-hand thumb often rests on the frame. This puts the thumb where it helps hold the gun steady and keeps your sights aligned.
Many stock weapon-light switches sit lower or rearward on the tailcap or housing. To hit some of those switches, you may have to lower or shift your thumb away from that high position.
Moving your thumb to reach a switch can change your grip and, on tight platforms, may make thumb-to-trigger interference more likely if you don’t train for it. That’s why good control and practice matter when you add a light.
Paddle shifters are built to place the activation surface up where your thumb naturally rests. That design aims to let you activate the light without breaking your high grip.
On many pistols, you can rest your thumb on the paddle and press it while keeping your firing grip. How well that works depends on the pistol, your hand size, and the paddle shape.
Many shooters and reviewers say paddle shifters noticeably improve light handling and help keep control during activation. With practice, the shorter thumb travel often makes activation quicker while helping you keep a consistent grip.
Innovative Design Philosophy Behind Paddle Shifter Features
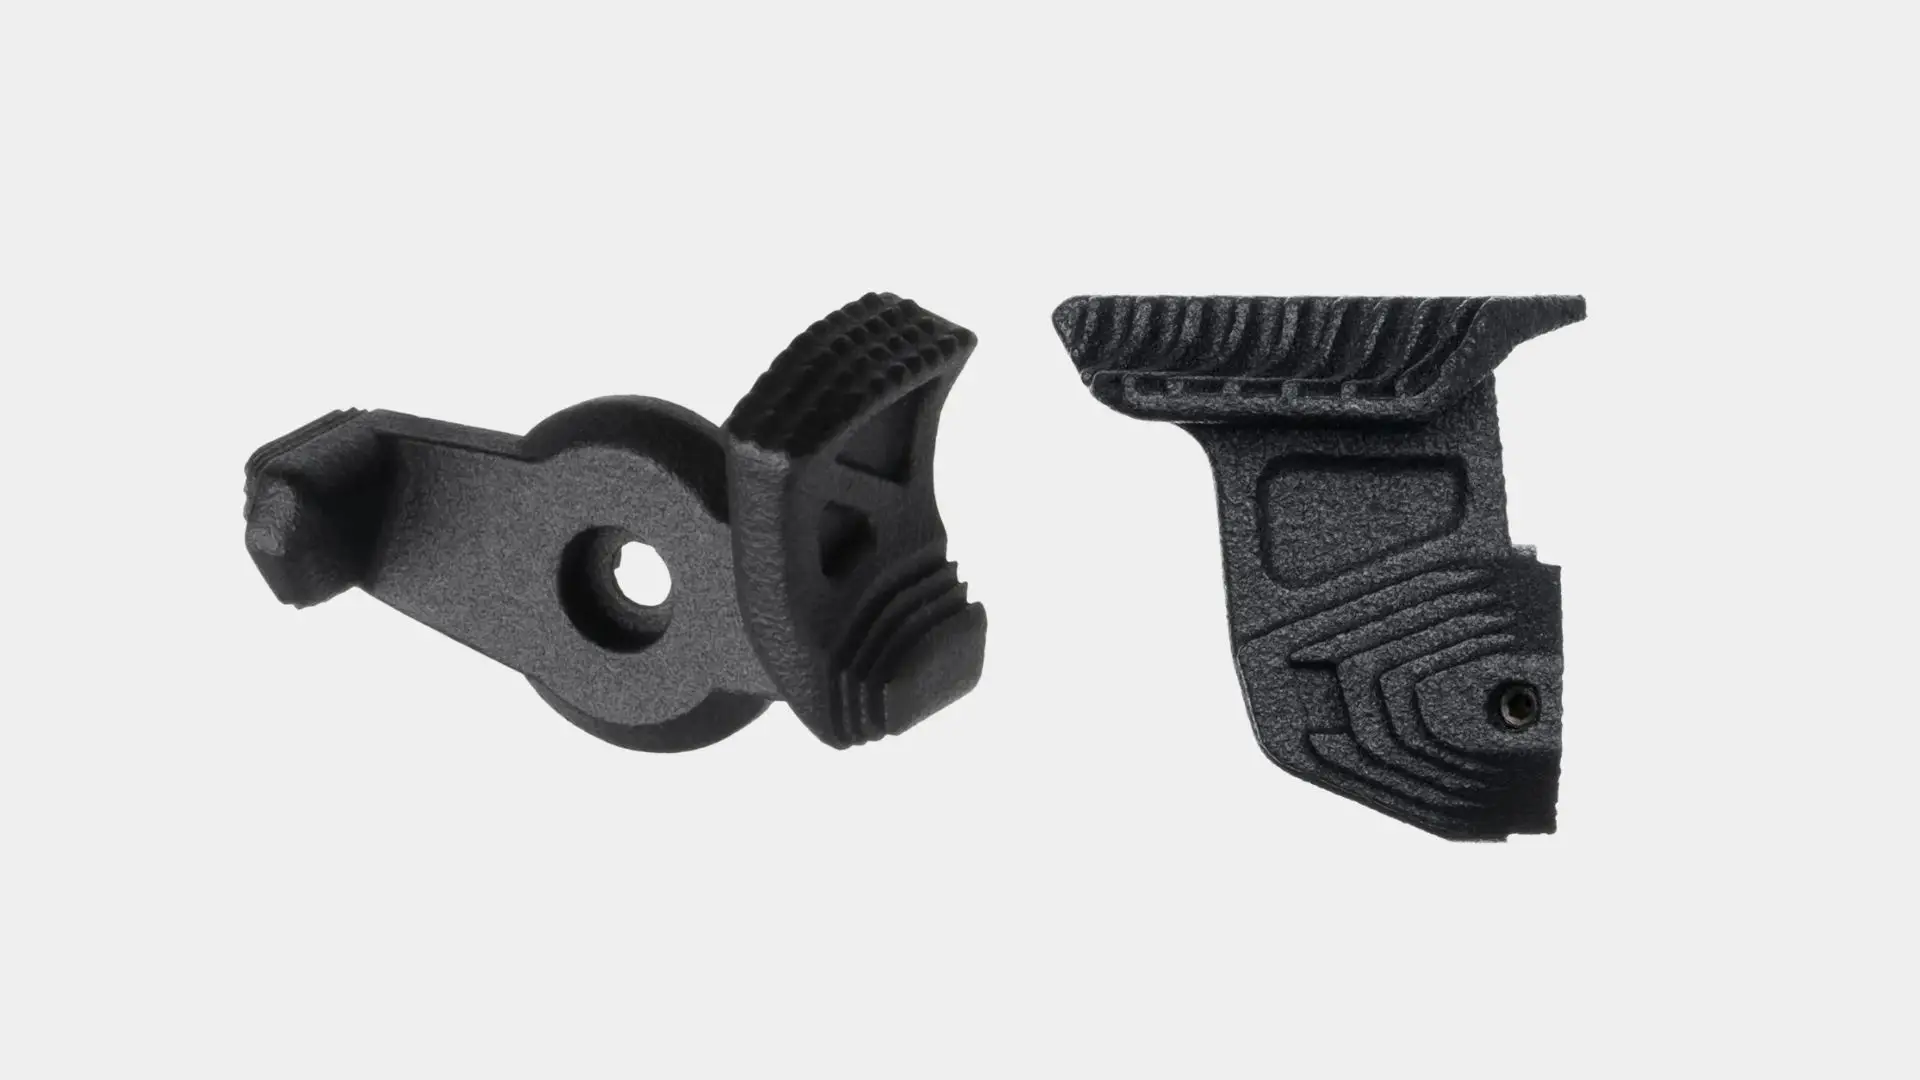
The paddle’s forward-swept shape is made to line up with how many people naturally hold their support-hand thumb. That helps place the switch where your thumb wants to rest.
Manufacturers add small serrations and specific grip angles to give your thumb a better hold. Those textures help whether you’re wearing thin gloves or bare-handed, though thick gloves and messy conditions can still change how it feels.
Most paddle shifters use reinforced nylon to keep the part light while staying tough. That material usually handles lots of activations and won’t add much bulk to your light.
These shifters are usually drop-in parts that replace the stock switch armature. They don’t require cutting or permanent changes to the light, but follow the installation steps and compatibility lists for your exact model.
Because the install is non-destructive, many shooters keep their original gear intact after adding a paddle. Still, warranty decisions are set by the light’s manufacturer, so check the OEM rules if that’s a concern.
Platform-Specific Engineering and Compatibility
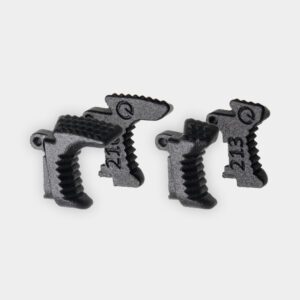
SureFire X300
Emissary’s Paddle Shifter V2 for SureFire X300 fits many X300 and X400 variants. Check the exact model name on the compatibility list before you order.
The paddles mount to the light’s existing switch armature as a drop-in replacement. Follow the installation instructions and use care—the armature is delicate.
Streamlight TLR-1, TLR-7A
Streamlight lights use different tailcap shapes. Emissary sells separate kits for the TLR-7A and TLR-1 because their tailcaps install differently.
If you have a TLR-7A, identify its tailcap generation before buying. Most lights made before June 2022 use a Gen-1 orange rubber plunger; many lights made in/after July 2022 use a Gen-2 black nub.
Holster fit is not guaranteed across all makes and models. Some holsters (Safariland being a notable example) may need small material clearance changes to avoid catching or knocking the paddle.
Pick the paddle orientation for your hand and mounting side. The product options are labeled by shooter hand—choose the variant that matches how you plan to mount the paddle on your weapon.
Real-World Performance
Improved Control During Dynamic Shooting Scenarios
Many shooters and reviewers say the Emissary paddle shifters help them keep better control when turning on a weapon light. On several pistols, you can keep a high grip and still hit the switch.
Keeping your grip high can reduce fumbling and the need to reset your hands after activation. That usually means fewer awkward movements that slow you down.
Emissary’s paddle shifters move the switch closer to where your thumb rests, so your thumb doesn’t have to travel as far. Shorter thumb travel can shave time off activation, though how much this helps depends on your training and situation.
Users often report greater confidence during low-light training when they use a paddle shifter. The repeatable contact point also makes it easier to practice the same motion and build muscle memory.
Some competition shooters and instructors say the upgrade helps in matches that require light use. When your grip stays consistent, target transitions can feel smoother and less disrupted by switching the light on.
Enhanced Grip Consistency and Interference Elimination
Keeping the same high grip helps your sights stay on target while you turn on a light. That steadier sight picture matters when you need fast, accurate follow-up shots.
A paddle shifter moves the switch where your thumb naturally rests. That can lower the chance of your thumb bumping the trigger on tight pistols.
Fewer thumb-trigger clashes mean cleaner trigger pulls for many shooters. Cleaner pulls help you shoot more smoothly when the light is on.
If your grip stays the same before and after activation, recoil behavior is more predictable. That lets you put follow-up shots on target more reliably in stressful situations.
Step-by-Step Installation
Before proceeding, we highly recommend you let a professional install the paddle shifter for you if you’re not sure of how to do it properly.
SureFire X300 Installation Process
Step 1: Safety Preparation
Remove the batteries from your light before you start. If the light is mounted to a firearm, make sure the gun is unloaded and safe to handle.
Also, check the holster fit before you finish the job. Some holsters might need extra clearance after you add a paddle.
Step 2: Stock Switch Removal
Use the included spanner bit in a screwdriver to wedge under the factory paddle. Gently walk or rotate the paddle up and off the switch armature while being careful—the armature is delicate.
Step 3: Surface Preparation
Clean the armature and mating surfaces of glue, dirt, or debris. A clean interface helps the paddle seat to work correctly and reliably over time.
Step 4: Paddle Shifter Installation
Slide the supplied installation tool under the armature for support. Press the paddle onto the armature until it is fully seated and makes full contact.
Step 5: Final Securing
Use the included L-key to turn the set screw one full turn past flush, as instructed. Don’t over-tighten—excessive force can damage the paddle or the light’s switch parts.
If at any point installation feels wrong or parts bind, stop and re-check fitment. Emissary offers pre-installed tailcap/tailcap-package options or support if you’d rather avoid DIY.
Streamlight TLR-7A Installation Process
Step 1: Initial Setup
Remove the batteries and make sure the weapon and light are safe. Turn the bezel to the “safe” detent so the light can’t fire while you work.
Identify which tailcap generation you have before you buy or start. Gen-1 and Gen-2 use different internal plungers and need different paddle parts.
Step 2: Component Removal
Press down on the stock paddle and use the included L-key to push the thin retaining pin out about 1/4 inch. Do this slowly so the internal spring and plunger don’t fall out.
Keep the spring and plunger safe—you’ll reuse them in the new paddle. Losing or reorienting these parts will break the function.
Step 3: Component Transfer
Pull the plunger out of the old paddle and seat it into the square hole on your new paddle. Make sure it sits the same way it did before so the light modes work right.
Step 4: Assembly and Alignment
Set the new paddle in place while keeping the spring and plunger aligned. The paddle’s small retention loop must sit in the tailcap channel before you reinsert the pin.
Step 5: Final Testing
Push the retaining pin fully back in, turn the bezel out of “safe,” and test both momentary and constant-on functions. Confirm everything works while observing normal firearm safety (unloaded, chamber clear).
If anything feels tight or the functions don’t work, stop and check orientation before forcing parts. If you’re unsure, consider professional help or a pre-assembled option.
Advanced Integration: Building Complete Weapon Systems
Tactical Training Enhancement Through Better Controls
Some trainers find paddle shifters easier for students to learn than some stock switch designs. There aren’t many formal studies comparing learning speed, so take trainer reports as practical observations rather than hard proof.
A switch that sits where your thumb already rests can make the motion more natural. That can reduce the mental work of finding and using the light under stress, though direct experimental data is limited.
A consistent activation point is great for dry-fire practice. You can practice light activation safely without ammo and build the same motion into your muscle memory.
Good dry-fire work helps you learn faster and saves ammo, but how quickly you improve depends on coaching, repetition quality, and testing with live fire. Dry-fire alone isn’t a complete substitute for live-fire validation.
Low-light courses often teach light-handling as a core skill, and ergonomic switches can be a useful tool in those classes. Instructors commonly report better student handling when activation is predictable, but course results vary.
Tactile activation works well when you’re using night-vision or operating with limited sight cues because you can find the paddle by feel. Still, night-vision training has special rules, and you should train with your exact kit and settings.
Equipment Integration with Advanced Controls
Paddle shifters work well with other accessory upgrades like cable clips and handstops. They can help you build a weapon setup that feels more intentional and ergonomic.
A good paddle often pairs nicely with better sights and a smoother trigger. When you combine compatible upgrades, your handling can improve more than any single part would on its own.
Many holster makers accept paddle-equipped lights, but the fit varies by model. Check your holster or the maker’s compatibility notes before you buy.
Use low-profile cable guides or clips to route remote-switch cords around the paddle. Thoughtful cable management lets you keep both paddle and remote options without snagging.
Comparative Analysis: Standard vs Enhanced Activation Methods
Standard Switch Limitations and Compromise Points
Many stock weapon-light switches sit where your thumb must move from a high, thumbs-forward grip. On some pistols, that movement means you lower or shift your support thumb to hit the switch.
Moving your thumb can change how you hold the gun and may slow sight recovery on certain platforms. How much it affects you depends on the pistol, your hand size, and training.
On compact pistols, that space is tight, and thumb travel can bring your support thumb closer to the trigger area. That may make finger interference more likely on some setups.
Small or mushy factory switches give you less surface to press when you’re stressed or wearing gloves. Those small contact areas can be harder to find and activate under pressure.
You build muscle memory by repeating the same motion during practice. If the switch forces an awkward or inconsistent movement, you’ll need more targeted practice to make activation reflexive under stress.
Paddle Shifter Performance Advantages
The extended activation surface provides multiple contact points for reliable operation across different thumb positions. This larger interface area improves activation reliability under stress when precise motor control becomes challenging.
Natural thumb placement eliminates the extended learning curve associated with awkward activation methods. Most users achieve basic proficiency during their first training session due to the intuitive design principles.
Consistent activation pressure requirements reduce cognitive demands during high-stress operational situations. The paddle shifter responds predictably to identical thumb pressure across different environmental and stress conditions.
Ambidextrous operation becomes more natural with paddle shifters installed on both compatible light sides. However, dual installation eliminates constant-on function on SureFire platforms due to mechanical interference limitations.
Conclusion
The Emissary Development paddle shifter represents a significant advancement in weapon light activation through intuitive design and proven user benefits.
User feedback consistently confirms tactical advantages of enhanced light activation, from competitive shooting improvements to professional training efficiency gains.
If you’re interested in Emissary Development, browse our selection of authentic Emissary Development products and experience precision engineering designed for serious shooters. Call us at (713) 485-5773 for expert guidance on optimizing your tactical setup.
Disclaimer: The information provided in this comprehensive Emissary Development paddle shifter guide is for educational and informational purposes only. Weapon light modifications and tactical accessories can affect firearm safety, performance, and legal compliance. Users are solely responsible for ensuring all modifications and purchases comply with applicable federal, state, and local laws before installation or use.
Improper installation of weapon light accessories can result in serious injury, equipment damage, or dangerous malfunction. We strongly recommend professional installation by qualified gunsmiths for all weapon light modifications and accessories. This guide does not substitute for manufacturer instructions, proper training, or professional expertise.
Legal requirements vary significantly by jurisdiction. Some states and localities restrict certain firearm modifications, accessories, or configurations. Always verify compliance with your local laws before purchasing or installing any tactical accessories. When in doubt, consult with legal professionals specializing in firearms law.
Product specifications, availability, pricing, and legal requirements are subject to change without notice. Always verify current information with Emissary Development, authorized dealers, and relevant legal authorities before making purchasing decisions. This information reflects current market conditions and may not apply to future product availability or regulatory changes.
Gold Trigger is not responsible for any modifications, installations, or purchases made based on this information. Users assume all risks associated with weapon light accessory use, including but not limited to personal injury, equipment damage, legal liability, and performance variations. Always prioritize safety, legal compliance, and proper training over performance modifications.
Comments