


How to Zero a Red Dot: Complete Guide
Published on: January 27, 2026
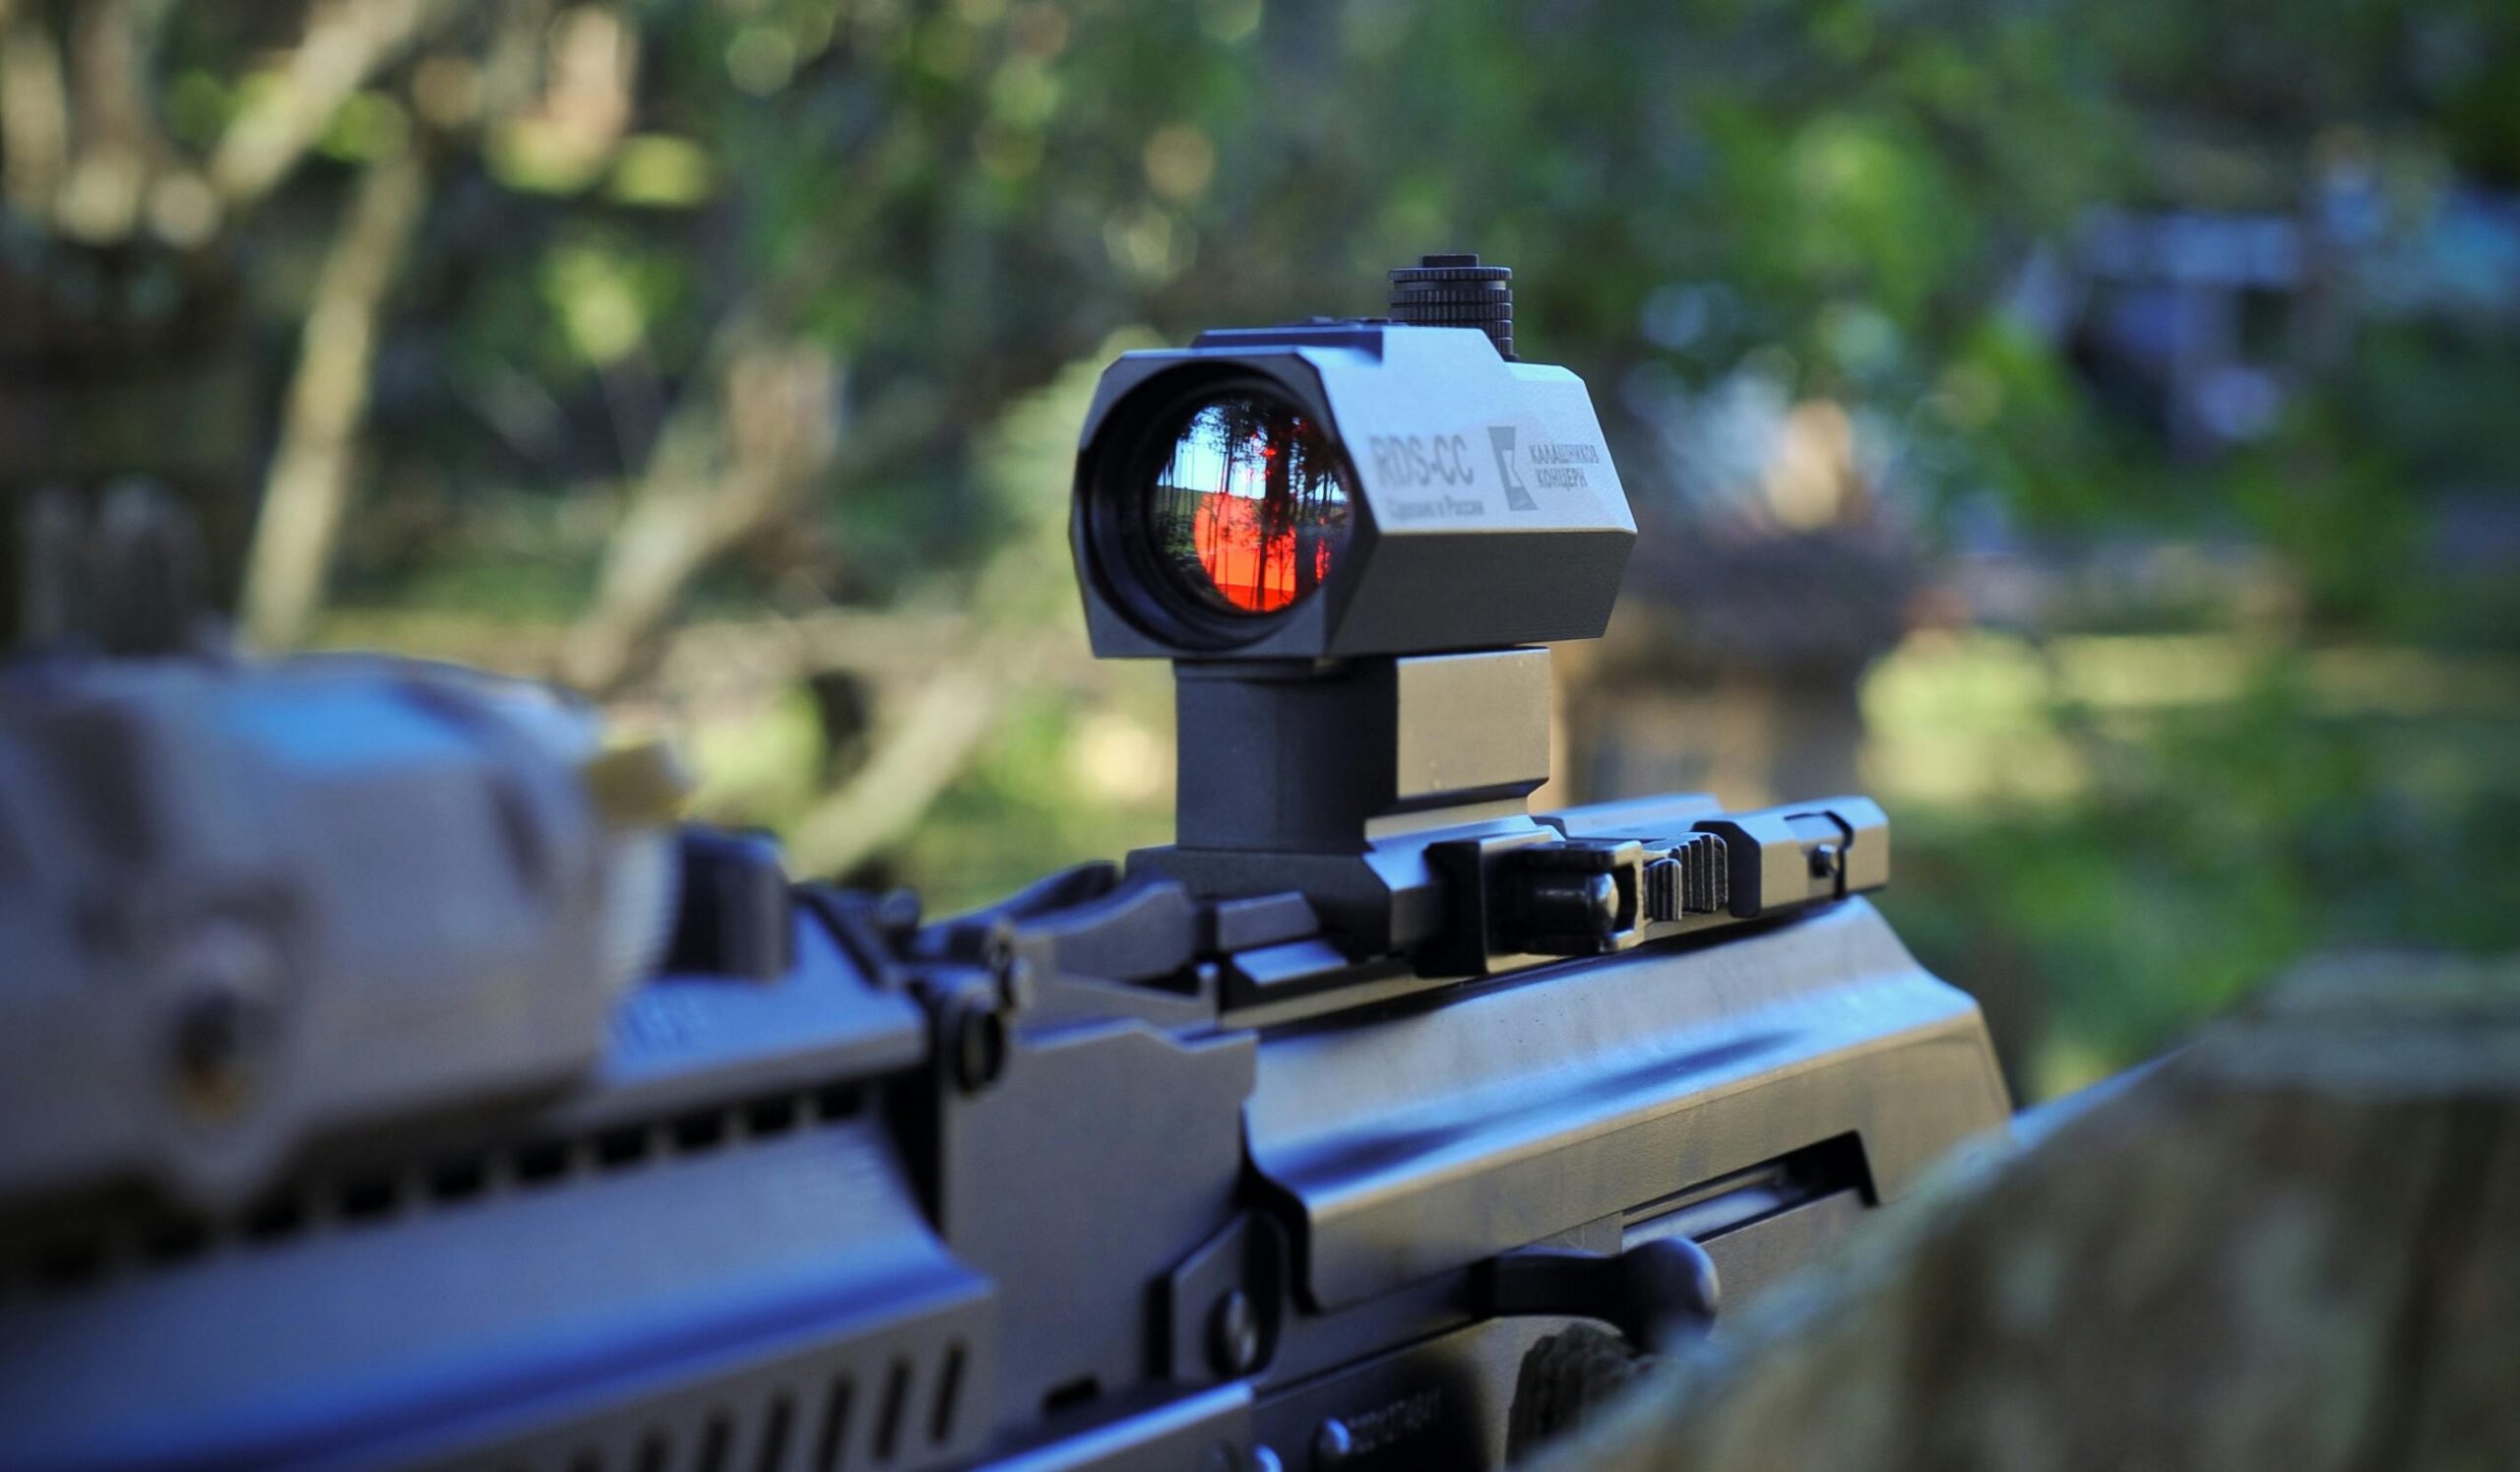
Photo by Dan Galvani Sommavilla
Reading Time: 9 minutes
Getting your red dot set up correctly makes all the difference between hitting your target and missing when it matters. Whether you’re working with a defensive pistol, a competition rifle, or a hunting shotgun, knowing how to zero a red dot separates accurate shooters from frustrated ones.
A properly zeroed optic ensures your point of aim matches your bullet’s point of impact at a chosen distance. Even the most expensive red dot won’t perform if this alignment isn’t correct.
In this guide, you’ll learn everything from MOA calculations to live-fire confirmation, giving you the skills to zero any red dot sight accurately.
Highlights
- Zeroing aligns your red dot’s point of aim with where bullets actually hit.
- Pistols usually zero best at 15–25 yards; rifles perform optimally at 50 yards.
- Proper torque and thread locker prevent mounts from shifting and losing zero.
- MOA adjustments let you make precise, repeatable changes to your point of impact.
- Bore sighting helps get on paper, but always confirm zero with live fire.
Understanding Zeroing Fundamentals
Zeroing your optic ensures the illuminated dot shows exactly where your bullet hits. The main challenge comes from the sight sitting above the barrel, creating an offset that changes with distance.
At close range, bullets hit low because they haven’t yet risen to meet your line of sight. At your chosen zero distance, your point of aim and point of impact line up perfectly.
Beyond that zero, gravity causes bullets to drop. Knowing this trajectory arc helps you make accurate shots at different distances.
If you’re new to red dot sights, one major advantage is their single focal plane, which removes the need for complex sight alignment.
MOA Adjustments
Your red dot uses two adjustment turrets to control where the reticle appears:
- Elevation moves the dot up or down
- Windage shifts it left or right.
These adjustments are measured in MOA, or Minute of Angle. One MOA equals about one inch at 100 yards, even though the exact measurement is 1.047 inches.
At shorter distances, the movement scales down. One MOA equals roughly 0.25 inches at 25 yards and about 0.5 inches at 50 yards.
Most red dots adjust in 1 MOA clicks, but some models use 0.5 MOA or 2 MOA per click. Always check your optic’s manual so you know exactly how much each click moves your impact.
The Zeroing Formula
You calculate adjustments using a simple formula: the distance between your impact and aim point in inches, divided by the distance in yards, divided by 100. This tells you how many MOA you need to adjust.
If you’re shooting 2 inches low at 25 yards, divide 2 by 0.25 to get 8 MOA. With 1 MOA clicks, you’ll dial the elevation up 8 clicks.
At 50 yards, the same 2-inch error only needs a 4 MOA adjustment because each click moves the impact farther. Once you understand how distance affects MOA, the math becomes easy and repeatable.
Essential Zeroing Gear
You don’t need expensive equipment to zero a red dot correctly. What matters most is properly torqued mounting hardware, since a loose optic makes accurate zeroing impossible.
Optic-to-slide mounting screws should be torqued to 15 in-lbs. Mount-to-rail connections typically need 20–30 in-lbs to stay secure.
A small torque wrench helps you avoid stripped threads from overtightening or movement from undertightening. Blue thread locker keeps screws from backing out under recoil.
Grid-style targets with 1-inch squares make MOA adjustments easy to measure. White backgrounds also help you see bullet holes clearly without constant trips downrange.
How to zero a red dot properly depends on a stable shooting position. Sandbags, shooting rests, or bipods reduce human error and keep your groups consistent.
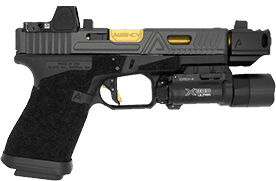
For pistols, shooting bags support the frame while you maintain proper grip control. Adding a weapon light increases contact points and prevents the slide from hitting the bag during cycling.
Choosing Your Zero Distance
Your zero distance determines trajectory performance across your practical shooting range. Consider where you’ll realistically engage targets.
Pistol Zero Guidelines
Most defensive pistols zero best at 15 yards. This is how to zero a red dot on a pistol distance; it balances close-range defensive needs with reasonable extended capability.
With a 15-yard zero, expect 1.5 inches low at 5 yards and 1-2 inches high at 25 yards. This spread stays within acceptable center-mass accuracy.
Competition shooters often prefer 25-yard zeros for a flatter trajectory across stage distances. The 10-yard zero works specifically for home defense confined to single rooms.
Height-over-bore creates more pronounced effects on pistols than rifles since optics sit much higher relative to the barrel axis.
Rifle Zero Recommendations
A 50-yard zero provides versatile performance for AR-15s and similar rifles. Your point of impact matches the point of aim at both 50 and 200 yards.
Between these intersection points, bullets ride 1.5-2 inches high maximum at 100 yards. Beyond 200 yards, you’ll need holdovers for bullet drop.
The 36-yard zero creates a 36/300-yard intersection favored by the Marine Corps. This flattens the trajectory with only 4-5 inches of rise between zero points.
Shotgun Applications
Shotguns with slugs typically zero at 50 yards for hunting. Buckshot patterns verify at 25 yards since you’re confirming the pattern center, not individual pellets.
Turkey hunters often zero at 25-30 yards, where most shots occur. Pattern density matters as much as the point of impact for clean harvests.
The Range Zeroing Process
Before leaving home, verify mounting screw torque and optic function. Bring your adjustment tool, targets, and 30-50 rounds for complete zeroing.
Setting Up for Success
Bench rest shooting eliminates variables complicating zeroing. Support both the front and rear of your firearm for maximum stability.
Keep body position and cheek weld consistent across all shots. Changing how you look through the optic creates artificial point-of-impact shifts.
Getting on Paper
Fire your first 3-5 shot group, aiming at the exact target center. Focus on smooth trigger presses without disturbing sight picture.
If shots don’t appear, move closer temporarily. Starting at 10 yards ensures visible impacts before adjusting to the final zero distance.
Look for group center rather than individual flyers. One pulled shot shouldn’t dictate adjustment decisions.
Making Precise Adjustments
Measure the distance between the group center and the aim point. Convert this to MOA using the formula discussed earlier.
Taking about how to sight in a red dot requires the correct adjustment direction. Shots landing left need windage turned right following marked arrows.
Low impacts need upward elevation adjustments. High groups require downward corrections.
Count clicks carefully and make calculated changes instead of guessing.
Verification
After adjustments, fire another 3-5 round group at the same aim point. Impacts should move closer to center.
Fine-tune with smaller adjustments until groups center on your aiming point. “Minute of bad guy” accuracy suffices for defensive applications.
Finish with a 10-round confirmation group. This larger sample reveals whether your zero holds consistently.
How to Zero a Red Dot Without Shooting
Bore sighting gets you on paper while conserving ammunition. This preliminary zero saves range time and money.
Remember that, when you want to know how to zero a red dot without shooting, it creates only approximate zeros. Live fire confirmation remains essential for critical applications.
Bore Sighting Limitations
Bore sighters deliver 2-24 inches of variance at 50 yards, depending on quality and technique. Manufacturing tolerances and centering difficulty create this deviation.
Never trust bore sights alone for defensive or hunting firearms. Many shooters have learned this lesson through costly misses in the field.
Laser Bore Sighter Method
Cartridge-shaped laser bore sighters fit into your chamber like ammunition. Choose the correct caliber for accurate alignment.
Secure your firearm in a rest 25 yards from the target. Insert the bore sighter and activate the laser per manufacturer’s instructions.
Without moving the gun, look through your red dot and note the reticle position relative to the laser. Adjust turrets to align the dot with the laser spot.
Remove the bore sighter and head to the range for live fire confirmation. You should be on paper, though not perfectly centered.
Visual Bore Sighting
Bolt-action rifles allow bolt removal to look straight through the barrel. This old-school method costs nothing and works reasonably well.
Rest your rifle solidly with the target centered in the bore. Without disturbing the gun, look through your optic and adjust until the reticle centers on the target.
This doesn’t work for AR-style rifles, pistols, or shotguns where you can’t see through the action.
How to Zero a Red Dot at Home
Indoor bore sighting follows the same process at reduced distances. Knowing how to zero a red dot at home saves range trips when initially setting up new optics.
Set up at 25 feet indoors with your firearm completely unloaded. Triple-check the chamber and magazine well before proceeding.
Indoor adjustments translate to outdoor performance. You’re simply getting close enough to hit paper on your first range visit.
Safety remains paramount during home bore sighting. Always point in safe directions with adequate backstop consideration.
Platform-Specific Techniques
Pistol Zeroing Challenges
Pistol-mounted red dots sit much higher above the bore than rifle optics. This height-over-bore causes noticeable point-of-impact shifts, especially at close distances.
Stability bags made for pistol zeroing help a lot. Using the weapon light method adds weight and extra contact points while preventing the slide from striking the bag.
Trigger control still matters, even when shooting from a rest. Anticipating recoil can push shots off target and slow down the zeroing process.
Rifle Setup Advantages
Rifles are more stable than pistols, which makes zeroing easier. The longer sight radius also reduces the effect of small shooting errors.
A proper bench setup with front and rear sandbags creates a near-mechanical hold. The goal is to remove as much human error as possible.
A 50-yard zero offers excellent versatility for AR-15s. With this setup, you’ll stay within about 2–3 inches of your aim point from 0 to 250 yards.
Shotgun Considerations
Shotguns shooting slugs are zeroed in much the same way as rifles. The biggest difference is the steep bullet drop that occurs beyond 100 yards.
Buckshot doesn’t require precision zeroing. Instead, you’re confirming that the center of the pattern lines up with your point of aim.
Break-action shotguns make bore sighting simple. You can remove the barrel, look straight through the bore, and adjust the red dot to match.
Maintaining Your Zero
A properly set zero can hold for thousands of rounds. Regular checks help ensure your firearm stays accurate when it matters most.
Always re-check your zero after removing or remounting an optic. Even small changes in position can noticeably shift your point of impact.
Hard drops or extreme temperature changes can also affect zero. Cold conditions often move impacts lower, while heat can push them higher.
After every 1,000 to 2,000 rounds, check your mounting screw torque. Recoil and vibration slowly loosen hardware over time.
Troubleshooting Zero Drift
Most zero shift problems come from loose mounting screws. Always check torque specifications and use a thread locker to keep screws secure.
Lower-quality optics may lose zero when you change batteries, while premium models like Trijicon and Aimpoint maintain zero through battery swaps. If your red dot shifts after replacing batteries, it usually points to a mount or optic quality issue.
Switching ammunition brands can also create apparent zero drift. Keep defensive and practice ammo separate to avoid confusion.
Understanding that parallax-free red dots aren’t truly immune to head position changes helps you diagnose apparent zero issues caused by inconsistent shooting posture.
Common Zeroing Mistakes
Zeroing from unstable positions leads to inconsistent groups that don’t reflect what your optic can really do. Always use solid support to remove unnecessary movement.
Making large adjustments after a single group often causes you to chase the zero. Measure your group, make small calculated changes, and adjust slowly.
Using different types of ammunition creates unreliable results. Always zero your red dot with the ammo you plan to use in real situations.
Forgetting about height-over-bore causes confusion at close range. Bullets start below your line of sight and rise to meet it at your zero distance.
Brand-Specific Guidance
Different manufacturers design their adjustments slightly differently. Knowing the specific characteristics of your optic makes the zeroing process smoother and more accurate.
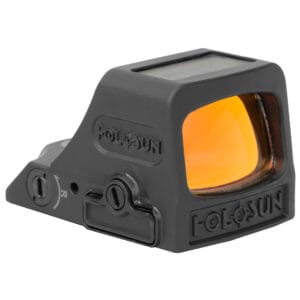
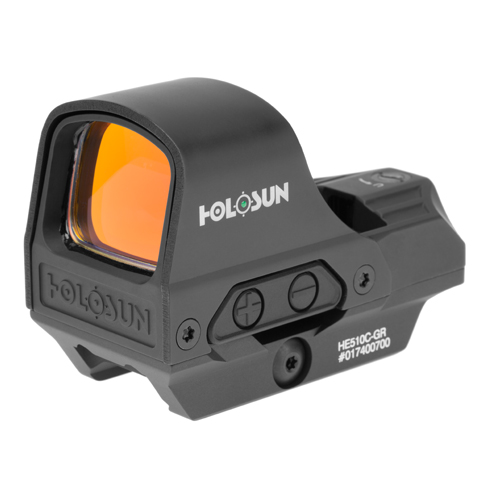
Holosun Adjustments
Holosun red dots usually adjust in 1 MOA per click, which keeps calculations simple.
Mount your Holosun with 15 in-lbs of torque on the screws, and use blue thread locker to prevent them from loosening under recoil.
The shake-awake feature doesn’t affect zero, but keeping brightness consistent throughout the zeroing process is important.


Trijicon RMR and SRO
Trijicon’s popular pistol optics adjust in 1 MOA clicks with positive detents you can feel. The adjustment screws can usually be turned by hand, without tools.
Always torque RMR mounting screws to your model’s specifications. These optics hold zero through battery changes thanks to their reliable electronics design.
Aimpoint Systems
Aimpoint click values differ by model—some use 0.5 MOA, others 1 MOA increments. Check your specific model to be sure.
Remove the protective caps to access the adjustment turrets, then replace them after zeroing to prevent accidental changes.
Aimpoint optics are extremely durable, maintaining zero even in harsh conditions. Verify periodically, but under normal use, minimal drift is expected.
Conclusion
A properly zeroed red dot gives you confidence every time you pull the trigger. Check your zero regularly, especially before defensive carry, competition, or hunting.
If you’re ready to upgrade, explore Gold Trigger’s red dots built for reliability and real-world use. Choose the right optic, mount it correctly, and start shooting accurately from day one.
You can also call us at 713-485-5773 for a faster transaction.
Disclaimer: The information in this red dot zeroing guide is for educational purposes only. It does not replace professional instruction or manufacturer guidance. While we aim for accuracy, individual red dot performance can vary based on mounting, environment, ammunition, and user technique.
Always follow local, state, and federal laws regarding firearm use and optic installation. Proper training and safe handling are essential. Consult qualified professionals if you are unsure about installation or zeroing procedures.
Firearms and accessories carry inherent risks. Users assume full responsibility for safe operation. Gold Trigger is not liable for accidents, misuse, or errors in zeroing procedures.
Specifications, availability, and pricing of red dot sights may change. Verify performance, mounting, and warranty information with manufacturers before purchase.
Comments