
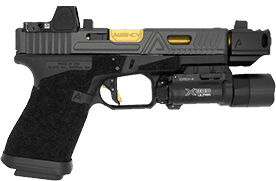
How to Mount a Red Dot Sight on a Pistol the Right Way

Published on: July 8, 2026
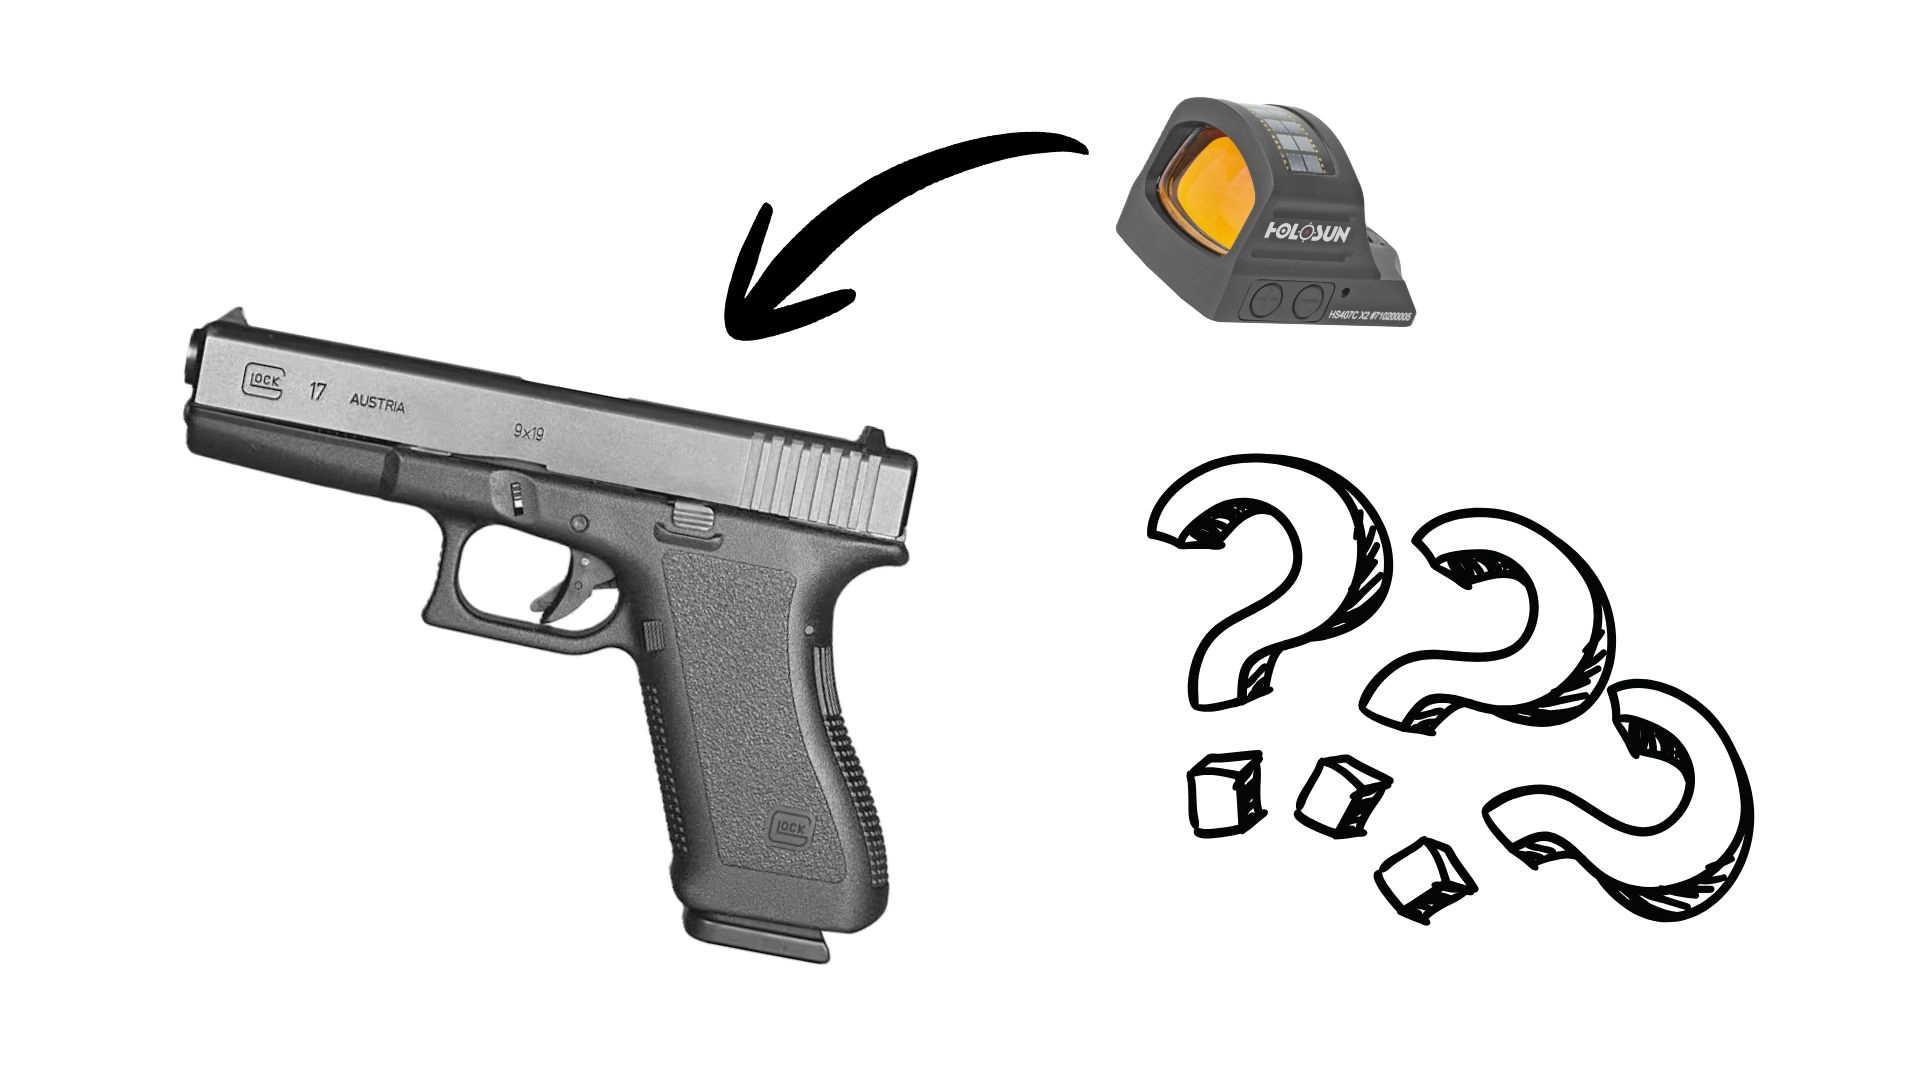
how to mount a red dot sight on a pistol

Reading time: 5 mins 20 sec

If you want to know how to mount a red dot sight on a pistol without wrecking your slide or your new optic, here’s the short answer: pick the right mounting method for your pistol first, prep your tools and surfaces, then torque everything to spec with the correct thread locker.

Skip that order, and you risk becoming the shooter asking why their dot flew off mid-string. This guide walks through all of it in the order that matters: the decision most guides skip, the prep, the install, the mistakes that cause comebacks, and what to do right after mounting.

Highlights

  • Your pistol’s slide decides your mounting method before you touch a screw.
  • Skipped prep work causes more mounting failures than bad tools ever do.
  • Blue thread locker, never red, is the standard for any optic you’ll service.
  • A paint pen mark can catch a loosening screw before it costs you the optic.
  • Mounting is step one. Zeroing comes right after.

Which Mounting Method Fits Your Pistol?

Before buying any tools, figure out which of the three mounting paths applies to your gun. This one decision shapes everything else.

Direct Mount

This applies if your pistol is a Glock MOS, Sig P320 RX, or another factory “optics-ready” model.

Your slide is already cut for a specific footprint, so the optic bolts straight on with no extra plate and no permanent machining needed. It’s the lowest-profile option, and when your pistol offers it, it’s generally the simpler, more reliable path since there’s one less part between your slide and your optic.

Adapter Plate or Dovetail Mounts

This bridges the gap when your slide isn’t cut for your optic’s exact footprint.

The trade-off is height, since stacking a plate between slide and optic raises the dot a bit higher and can throw off how your iron sights line up through the window.

Plate quality matters, too. A flexing polymer plate is a common weak point, so if this gun sees more than the occasional weekend at the range, a steel plate is worth the extra few dollars.

Slide Milling

This is the route for pistols with no factory optics-ready option, and it’s the one method best left to a professional.

CNC machines can hold tolerances as tight as a few thousandths of a millimeter, but that kind of precision takes equipment most home toolkits don’t have, which is also why milling prices swing so much between shops: a tighter, cleaner cut simply costs more to produce.

Whichever path applies to you, confirm your optic’s footprint, whether that’s RMR, RMSc, K-series, or ACRO, actually matches your slide before you spend a dollar. Assuming “close enough” is how people end up with an optic that never sits flush.

The best red dots for pistols are those mounted correctly.

What You Need Before You Touch a Screwdriver

A few minutes of prep here prevents most of the headaches people run into later.

  • Correct mounting screws for your exact optic and plate. Kits often include screws of different lengths for a reason, and mixing them up is an easy way to damage your slide.
  • A torque driver rated in inch-pounds. Tightening by feel is a common way to strip threads or end up with a loose optic, so skip the guesswork.
  • Blue, removable thread locker. Red, permanent thread locker is the wrong call for anything you’ll ever need to open again, like for a battery change.
  • Degreaser or alcohol wipes for the mounting surface.
  • A bench vise or padded clamp to hold the slide steady while you work.
  • A paint pen for witness marks that let you spot a screw that’s started to back out.

If your optic’s manual lists a torque spec, that number always wins over general advice, including this guide. Specs vary because housing materials do, too, since aluminum, titanium, and polymer all handle stress differently.

How to Mount a Red Dot Sight on a Pistol: Step by Step

Clear your pistol and confirm it’s unloaded before anything else. This step is non-negotiable, full stop.

Once you’ve confirmed that your pistol is unloaded, follow these:

  1. Remove the cover plate or rear sight, whichever your slide uses, and set the screws aside somewhere they won’t roll away.
  2. Degrease the mounting surfaces on both the slide and the optic’s underside. Skipping this is a common reason mounts loosen later, even when the torque was technically correct.
  3. Dry-fit everything first, with no thread locker yet. Confirm the screw holes line up and the optic sits flush with no visible gap.
  4. Apply a small drop of blue thread locker to the screw threads only. A little really does go a long way.
  5. Hand-thread the screws until snug, alternating between them instead of fully tightening one before the other. This keeps the optic from sitting at an angle.
  6. Torque to the exact spec using your calibrated driver. This is the step most people eyeball, and it’s the one you shouldn’t.
  7. Add witness marks across each screw head and the optic body with your paint pen.
  8. Let the thread locker cure fully before you fire a single round. Most thread lockers reach full strength in about 24 hours, so plan your range trip around that.
  9. Do a final check. No play, no visible gaps, and the optic should sit level on the slide.

Once it’s mounted and cured, you’re not quite done. The optic still needs to be zeroed before you carry it or compete with it.

Mounting Mistakes That Cost More Than a Re-Do

Most guides stop at “don’t over-tighten.” Here’s what these mistakes actually cost you.

  • Over-torquing can strip the threads in your slide or crack the optic housing outright, turning a quick job into a repair that costs more than you’d expect.
  • Under-torquing lets the optic walk loose under recoil. Best case, you lose your zero. Worst case, it comes off mid-string.
  • Using red thread locker turns a simple battery swap into a project involving heat or a drill, with real risk to your lens along the way.
  • Skipping the degreasing step means your thread locker never bonds the way it’s supposed to, so the screws back out anyway, just more slowly than they would have otherwise.
  • Using the wrong screw length can tilt your optic or, worse, let the screw run far enough into the slide to interfere with internal parts like the extractor and cause a malfunction, a risk manufacturers themselves warn about directly in their own installation instructions.
  • Firing before the thread locker cures undoes the entire point of using it in the first place.
  • Assuming a footprint is “close enough” leaves you with an optic that never sits flush, no matter how many times you re-torque it.

The frustrating part is that most of these mistakes are invisible at the bench. They tend to show up only after a few hundred rounds, which is exactly why getting it right the first time beats fixing it later.

Conclusion

Mounting a red dot well really comes down to three things in order: choosing the right method for your specific pistol, prepping your surfaces and hardware properly, and torquing everything to spec with the correct thread locker. Skip that order, and you’re far more likely to end up back at this same checklist after a frustrating trip to the range.

None of these steps is hard on its own. What trips people up is rushing past the parts that feel boring, like degreasing or waiting out a cure time, because they’re eager to get shooting. Slow down there, and accurate shooting tends to take care of itself.

If you’re still picking out your first red dot or you’re ready to upgrade your mounting hardware, Gold Trigger’s red dot sight collection has options for every pistol and budget. Browse our full lineup and mount your next optic with confidence.

DISCLAIMER: This guide is intended for informational purposes only and does not replace the specific instructions provided by your firearm or optic manufacturer. Always follow the manufacturer’s torque specifications, mounting hardware, and installation guidelines for your exact model. Mounting or modifying a firearm accessory should only be performed on a verified unloaded firearm, in compliance with all applicable federal, state, and local laws. If you are unsure about any step in this process, consult a qualified gunsmith. Gold Trigger is not responsible for any injury, property damage, firearm malfunction, or legal consequences resulting from the installation or use of products mentioned in this article. Nothing in this content constitutes legal advice.

Comments

Leave a Reply

Your email address will not be published. Required fields are marked *

How to Mount a Red Dot Sight on a Pistol the Right Way

how to mount a red dot sight on a pistol

Reading time: 5 mins 20 sec

If you want to know how to mount a red dot sight on a pistol without wrecking your slide or your new optic, here’s the short answer: pick the right mounting method for your pistol first, prep your tools and surfaces, then torque everything to spec with the correct thread locker.

Skip that order, and you risk becoming the shooter asking why their dot flew off mid-string. This guide walks through all of it in the order that matters: the decision most guides skip, the prep, the install, the mistakes that cause comebacks, and what to do right after mounting.

Highlights

  • Your pistol’s slide decides your mounting method before you touch a screw.
  • Skipped prep work causes more mounting failures than bad tools ever do.
  • Blue thread locker, never red, is the standard for any optic you’ll service.
  • A paint pen mark can catch a loosening screw before it costs you the optic.
  • Mounting is step one. Zeroing comes right after.

Which Mounting Method Fits Your Pistol?

Before buying any tools, figure out which of the three mounting paths applies to your gun. This one decision shapes everything else.

Direct Mount

This applies if your pistol is a Glock MOS, Sig P320 RX, or another factory “optics-ready” model.

Your slide is already cut for a specific footprint, so the optic bolts straight on with no extra plate and no permanent machining needed. It’s the lowest-profile option, and when your pistol offers it, it’s generally the simpler, more reliable path since there’s one less part between your slide and your optic.

Adapter Plate or Dovetail Mounts

This bridges the gap when your slide isn’t cut for your optic’s exact footprint.

The trade-off is height, since stacking a plate between slide and optic raises the dot a bit higher and can throw off how your iron sights line up through the window.

Plate quality matters, too. A flexing polymer plate is a common weak point, so if this gun sees more than the occasional weekend at the range, a steel plate is worth the extra few dollars.

Slide Milling

This is the route for pistols with no factory optics-ready option, and it’s the one method best left to a professional.

CNC machines can hold tolerances as tight as a few thousandths of a millimeter, but that kind of precision takes equipment most home toolkits don’t have, which is also why milling prices swing so much between shops: a tighter, cleaner cut simply costs more to produce.

Whichever path applies to you, confirm your optic’s footprint, whether that’s RMR, RMSc, K-series, or ACRO, actually matches your slide before you spend a dollar. Assuming “close enough” is how people end up with an optic that never sits flush.

The best red dots for pistols are those mounted correctly.

What You Need Before You Touch a Screwdriver

A few minutes of prep here prevents most of the headaches people run into later.

  • Correct mounting screws for your exact optic and plate. Kits often include screws of different lengths for a reason, and mixing them up is an easy way to damage your slide.
  • A torque driver rated in inch-pounds. Tightening by feel is a common way to strip threads or end up with a loose optic, so skip the guesswork.
  • Blue, removable thread locker. Red, permanent thread locker is the wrong call for anything you’ll ever need to open again, like for a battery change.
  • Degreaser or alcohol wipes for the mounting surface.
  • A bench vise or padded clamp to hold the slide steady while you work.
  • A paint pen for witness marks that let you spot a screw that’s started to back out.

If your optic’s manual lists a torque spec, that number always wins over general advice, including this guide. Specs vary because housing materials do, too, since aluminum, titanium, and polymer all handle stress differently.

How to Mount a Red Dot Sight on a Pistol: Step by Step

Clear your pistol and confirm it’s unloaded before anything else. This step is non-negotiable, full stop.

Once you’ve confirmed that your pistol is unloaded, follow these:

  1. Remove the cover plate or rear sight, whichever your slide uses, and set the screws aside somewhere they won’t roll away.
  2. Degrease the mounting surfaces on both the slide and the optic’s underside. Skipping this is a common reason mounts loosen later, even when the torque was technically correct.
  3. Dry-fit everything first, with no thread locker yet. Confirm the screw holes line up and the optic sits flush with no visible gap.
  4. Apply a small drop of blue thread locker to the screw threads only. A little really does go a long way.
  5. Hand-thread the screws until snug, alternating between them instead of fully tightening one before the other. This keeps the optic from sitting at an angle.
  6. Torque to the exact spec using your calibrated driver. This is the step most people eyeball, and it’s the one you shouldn’t.
  7. Add witness marks across each screw head and the optic body with your paint pen.
  8. Let the thread locker cure fully before you fire a single round. Most thread lockers reach full strength in about 24 hours, so plan your range trip around that.
  9. Do a final check. No play, no visible gaps, and the optic should sit level on the slide.

Once it’s mounted and cured, you’re not quite done. The optic still needs to be zeroed before you carry it or compete with it.

Mounting Mistakes That Cost More Than a Re-Do

Most guides stop at “don’t over-tighten.” Here’s what these mistakes actually cost you.

  • Over-torquing can strip the threads in your slide or crack the optic housing outright, turning a quick job into a repair that costs more than you’d expect.
  • Under-torquing lets the optic walk loose under recoil. Best case, you lose your zero. Worst case, it comes off mid-string.
  • Using red thread locker turns a simple battery swap into a project involving heat or a drill, with real risk to your lens along the way.
  • Skipping the degreasing step means your thread locker never bonds the way it’s supposed to, so the screws back out anyway, just more slowly than they would have otherwise.
  • Using the wrong screw length can tilt your optic or, worse, let the screw run far enough into the slide to interfere with internal parts like the extractor and cause a malfunction, a risk manufacturers themselves warn about directly in their own installation instructions.
  • Firing before the thread locker cures undoes the entire point of using it in the first place.
  • Assuming a footprint is “close enough” leaves you with an optic that never sits flush, no matter how many times you re-torque it.

The frustrating part is that most of these mistakes are invisible at the bench. They tend to show up only after a few hundred rounds, which is exactly why getting it right the first time beats fixing it later.

Conclusion

Mounting a red dot well really comes down to three things in order: choosing the right method for your specific pistol, prepping your surfaces and hardware properly, and torquing everything to spec with the correct thread locker. Skip that order, and you’re far more likely to end up back at this same checklist after a frustrating trip to the range.

None of these steps is hard on its own. What trips people up is rushing past the parts that feel boring, like degreasing or waiting out a cure time, because they’re eager to get shooting. Slow down there, and accurate shooting tends to take care of itself.

If you’re still picking out your first red dot or you’re ready to upgrade your mounting hardware, Gold Trigger’s red dot sight collection has options for every pistol and budget. Browse our full lineup and mount your next optic with confidence.

DISCLAIMER: This guide is intended for informational purposes only and does not replace the specific instructions provided by your firearm or optic manufacturer. Always follow the manufacturer’s torque specifications, mounting hardware, and installation guidelines for your exact model. Mounting or modifying a firearm accessory should only be performed on a verified unloaded firearm, in compliance with all applicable federal, state, and local laws. If you are unsure about any step in this process, consult a qualified gunsmith. Gold Trigger is not responsible for any injury, property damage, firearm malfunction, or legal consequences resulting from the installation or use of products mentioned in this article. Nothing in this content constitutes legal advice.

Leave a Reply

Your email address will not be published. Required fields are marked *

Shopping cart0
There are no products in the cart!