
What’s the Best Place to Mount a Red Dot on an AR-15?

Published on: November 2, 2026
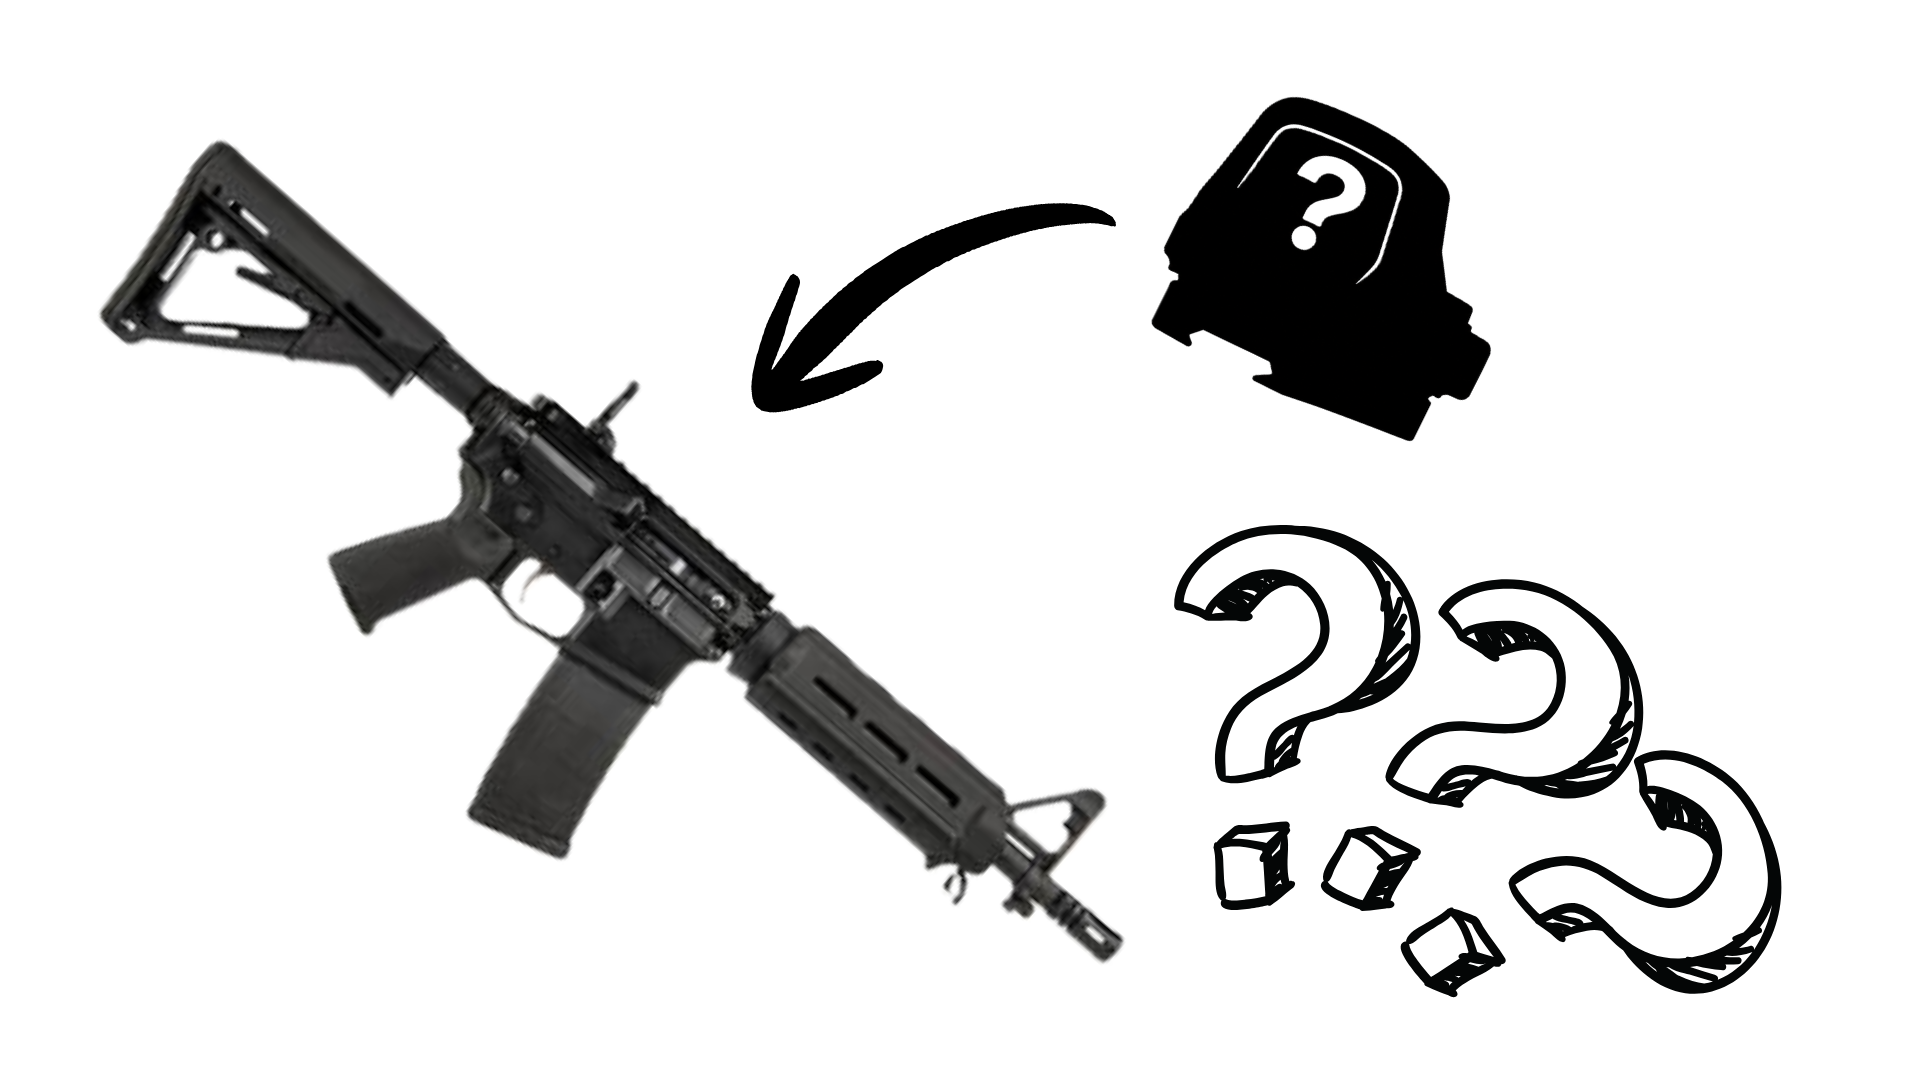
where to mount a red dot on ar15

Reading time: 6 mins

If you found the best red dot sight for your AR-15, mount it on the top rail of the upper receiver, pushed as far forward as it’ll go without sitting on the handguard. That’s the most rigid place to mount an optic, and it blocks the least of your view.

Add a magnifier, backup irons, an LPVO, or night vision, and that spot can shift. Here’s how to find your exact slot.

Highlights

  • Mount your red dot on the upper receiver’s top rail, as far forward as it goes.
  • Keep the mount’s clamp and recoil lug off the handguard.
  • Fix head-height problems with mount height, not rail position.
  • Magnifiers, offsets, and night vision each change your setup.
  • AR pistols use the same upper receiver, so the same rule applies.

Where to Mount Red Dot on AR-15: The Short Answer

Put your 1x red dot on the receiver’s top rail. Slide it forward until the mount’s base reaches the receiver’s front edge, but keep the clamp and recoil lug off the handguard.

Here’s why:

  • Rigidity: The rail is machined right into a flat-top upper. Your handguard is a separate part, usually attached at the barrel nut, so it can flex.
  • Field of view: Red dots don’t have an eye relief limit, so the farther the housing sits from your eye, the less it blocks.
  • Room to grow: A forward dot leaves space behind it for a magnifier or rear sight.

That separate-part detail matters. Anything that pushes on your handguard, like a sling or a barricade, can nudge an optic mounted there and move your point of impact.

For mount basics, see our guide to red dot mounts.

How to Find Your Exact Spot on the Rail

Picatinny slots sit 0.394 inches apart, so every slot you move forward shifts your optic about 0.4 inches. These four steps show you which slot to land on.

Step 1: Clear the Rifle and Find the Forward Limit

Remove the magazine, lock the bolt open, and check that the chamber is empty by sight and feel. Then find the seam where the receiver rail ends; that is your forward limit.

Some handguards sit flush with the receiver, so run your finger along the top to find the gap.

Step 2: Dry-Fit and Shoulder It

Set the optic loosely near that forward limit and shoulder the rifle. The dot should sit near the center of the window with your natural cheek weld.

If you have to lift or drop your head, that’s a height problem, not a rail problem. Our co-witness guide covers mount heights.

Step 3: Run a Quick Clearance Check

Before you tighten anything, confirm these:

  • Your charging handle moves all the way back without touching the optic.
  • Your rear backup sight flips up and folds down freely.
  • There’s room behind the dot for a magnifier if you’ll add one.
  • The mount’s clamp sits fully on the receiver rail.

Step 4: Seat It Forward and Torque It

Push the mount forward in its slot while you tighten it. When your rifle recoils backward, the optic’s weight wants to lag behind, so seating it forward takes out that wiggle room.

Tighten to your mount maker’s torque spec, since specs vary by brand. Then count the slots from the receiver’s front edge and write that number down for later.

A thin paint-pen line across the screw and mount helps, too. If that line ever breaks, you’ll know something moved.

Red Dot Placement AR-15 Map: Where It Goes for Your Setup

Here’s your cheat sheet.

SetupWhere the dot goesWhat goes behind itWatch out for
Red dot onlyFront of receiver railNothing or rear BUISBridging onto the handguard
Red dot + magnifierFront of receiver rail (required)Magnifier at its eye reliefRunning out of rail
Red dot + BUISFront of receiver railRear BUIS at back of receiverSights hitting the optic
LPVO + offset dotScope mount or receiver rail, usually at 45°N/AOffset on a flexible handguard
AR pistolFront of receiver railNothing or rear BUISHeavy optic hurting balance
Night vision (helmet)Front of receiver, often a taller mountNothingMount too low for goggles

Red Dot With Magnifier Placement

Here, forward placement isn’t optional. A magnifier sits behind the dot and needs its own eye relief, so every front slot counts.

Mount the dot first, then slide the magnifier back until the full picture shows with no dark ring.

Out of Rail? Try a Cantilever Mount

A cantilever mount clamps to the receiver but reaches forward over the handguard without touching it. You get a more forward dot and keep the solid base.

It’s the easiest fix when a dot and magnifier won’t both fit.

LPVO and Offset Red Dot Placement

When an LPVO takes the main spot, your offset dot rides on the scope mount or the receiver rail, usually at 45°. Put it on the side your rifle naturally rolls toward when you tilt it to your aiming eye.

When you use it, roll the rifle until the dot sits right over the bore. An offset optic tilted the wrong way can push your hits left or right, so practice that roll at the range.

Keep your offset off the handguard when you can, and confirm your zero if it has to go there. For pairings, see our AR-15 scope and red dot combo guide.

AR Pistols and Short Handguards

Many people think AR pistols have shorter receiver rails, but an AR pistol uses the same upper receiver as a rifle. Only the barrel and handguard are shorter.

So the same rule applies. Just pick a light, compact optic for better balance, and dry-fit first since some billet uppers vary a bit.

For optic picks, check our best red dot for AR-15 pistol guide.

Monolithic Uppers

On a monolithic upper, the receiver and handguard are one piece. Mount roughly where a standard receiver rail would end, with a little room to go forward.

Where NOT to Mount a Red Dot on Your AR-15

Some spots look handy but cause problems:

  • The handguard: It can flex, and you’ll need to re-zero after removing it for cleaning.
  • A gas block rail: The barrel and gas parts flex, move, and heat up when you fire.
  • Side rails (main dot): Most mounts are built to sit level on the top rail.
  • The back of the receiver (main dot): It blocks more of your view and eats magnifier space.
  • A carry handle: Carry-handle mounts put the dot at a height that rarely fits your face. On a flat-top, remove the detachable handle and use the rail.

How to Tell If Your Red Dot Placement Is Right

Run these checks after mounting:

  1. Both-eyes-open test: Shoulder the rifle and look at something far away. The housing should mostly fade from view, and if it feels like a tube, it may be too far back.
  2. Witness-mark check: After your first range trip, look at your paint line. If it’s broken, re-torque and confirm zero.
  3. Handguard-pressure test: If anything sits near the handguard, fire one group normally and one while pressing the handguard on a barricade, where your range allows it. If your hits move, shift the optic back.

Re-confirm zero whenever the optic comes off or moves.

Frequently Asked Questions

Mount Red Dot on Receiver vs Handguard: Which Wins?

The receiver wins for your main optic. Handguards are less rigid and can shift your zero.

How Far Forward to Mount Red Dot on an AR-15?

Mount it as far forward as you can on the receiver rail. For more reach, use a cantilever mount.

Conclusion

Your red dot belongs on the receiver’s top rail, pushed forward, with nothing clamped to the handguard. Magnifiers, offsets, AR pistols, and night vision change the details, but not that core rule.

Find your forward limit, check clearances, seat the mount forward, and record your slot, then run the three quick checks.

Shop Gold Trigger’s red dot sights and optic accessories, or call us at 713-485-5773.

Disclaimer: This article is for educational purposes only and isn’t a substitute for professional gunsmithing, manufacturer instructions, or firearms training. Follow the basic rules of firearm safety, confirm your firearm is unloaded before working on it, and use your mount maker’s torque specs. Confirm zero at a safe, approved range. You’re responsible for following all federal, state, and local laws, including rules on AR pistols and short-barreled rifles. Gold Trigger assumes no liability for damage, injury, or legal consequences from the use or misuse of this information or the products referenced here.

Comments

Leave a Reply

Your email address will not be published. Required fields are marked *

What’s the Best Place to Mount a Red Dot on an AR-15?

where to mount a red dot on ar15

Reading time: 6 mins

If you found the best red dot sight for your AR-15, mount it on the top rail of the upper receiver, pushed as far forward as it’ll go without sitting on the handguard. That’s the most rigid place to mount an optic, and it blocks the least of your view.

Add a magnifier, backup irons, an LPVO, or night vision, and that spot can shift. Here’s how to find your exact slot.

Highlights

  • Mount your red dot on the upper receiver’s top rail, as far forward as it goes.
  • Keep the mount’s clamp and recoil lug off the handguard.
  • Fix head-height problems with mount height, not rail position.
  • Magnifiers, offsets, and night vision each change your setup.
  • AR pistols use the same upper receiver, so the same rule applies.

Where to Mount Red Dot on AR-15: The Short Answer

Put your 1x red dot on the receiver’s top rail. Slide it forward until the mount’s base reaches the receiver’s front edge, but keep the clamp and recoil lug off the handguard.

Here’s why:

  • Rigidity: The rail is machined right into a flat-top upper. Your handguard is a separate part, usually attached at the barrel nut, so it can flex.
  • Field of view: Red dots don’t have an eye relief limit, so the farther the housing sits from your eye, the less it blocks.
  • Room to grow: A forward dot leaves space behind it for a magnifier or rear sight.

That separate-part detail matters. Anything that pushes on your handguard, like a sling or a barricade, can nudge an optic mounted there and move your point of impact.

For mount basics, see our guide to red dot mounts.

How to Find Your Exact Spot on the Rail

Picatinny slots sit 0.394 inches apart, so every slot you move forward shifts your optic about 0.4 inches. These four steps show you which slot to land on.

Step 1: Clear the Rifle and Find the Forward Limit

Remove the magazine, lock the bolt open, and check that the chamber is empty by sight and feel. Then find the seam where the receiver rail ends; that is your forward limit.

Some handguards sit flush with the receiver, so run your finger along the top to find the gap.

Step 2: Dry-Fit and Shoulder It

Set the optic loosely near that forward limit and shoulder the rifle. The dot should sit near the center of the window with your natural cheek weld.

If you have to lift or drop your head, that’s a height problem, not a rail problem. Our co-witness guide covers mount heights.

Step 3: Run a Quick Clearance Check

Before you tighten anything, confirm these:

  • Your charging handle moves all the way back without touching the optic.
  • Your rear backup sight flips up and folds down freely.
  • There’s room behind the dot for a magnifier if you’ll add one.
  • The mount’s clamp sits fully on the receiver rail.

Step 4: Seat It Forward and Torque It

Push the mount forward in its slot while you tighten it. When your rifle recoils backward, the optic’s weight wants to lag behind, so seating it forward takes out that wiggle room.

Tighten to your mount maker’s torque spec, since specs vary by brand. Then count the slots from the receiver’s front edge and write that number down for later.

A thin paint-pen line across the screw and mount helps, too. If that line ever breaks, you’ll know something moved.

Red Dot Placement AR-15 Map: Where It Goes for Your Setup

Here’s your cheat sheet.

SetupWhere the dot goesWhat goes behind itWatch out for
Red dot onlyFront of receiver railNothing or rear BUISBridging onto the handguard
Red dot + magnifierFront of receiver rail (required)Magnifier at its eye reliefRunning out of rail
Red dot + BUISFront of receiver railRear BUIS at back of receiverSights hitting the optic
LPVO + offset dotScope mount or receiver rail, usually at 45°N/AOffset on a flexible handguard
AR pistolFront of receiver railNothing or rear BUISHeavy optic hurting balance
Night vision (helmet)Front of receiver, often a taller mountNothingMount too low for goggles

Red Dot With Magnifier Placement

Here, forward placement isn’t optional. A magnifier sits behind the dot and needs its own eye relief, so every front slot counts.

Mount the dot first, then slide the magnifier back until the full picture shows with no dark ring.

Out of Rail? Try a Cantilever Mount

A cantilever mount clamps to the receiver but reaches forward over the handguard without touching it. You get a more forward dot and keep the solid base.

It’s the easiest fix when a dot and magnifier won’t both fit.

LPVO and Offset Red Dot Placement

When an LPVO takes the main spot, your offset dot rides on the scope mount or the receiver rail, usually at 45°. Put it on the side your rifle naturally rolls toward when you tilt it to your aiming eye.

When you use it, roll the rifle until the dot sits right over the bore. An offset optic tilted the wrong way can push your hits left or right, so practice that roll at the range.

Keep your offset off the handguard when you can, and confirm your zero if it has to go there. For pairings, see our AR-15 scope and red dot combo guide.

AR Pistols and Short Handguards

Many people think AR pistols have shorter receiver rails, but an AR pistol uses the same upper receiver as a rifle. Only the barrel and handguard are shorter.

So the same rule applies. Just pick a light, compact optic for better balance, and dry-fit first since some billet uppers vary a bit.

For optic picks, check our best red dot for AR-15 pistol guide.

Monolithic Uppers

On a monolithic upper, the receiver and handguard are one piece. Mount roughly where a standard receiver rail would end, with a little room to go forward.

Where NOT to Mount a Red Dot on Your AR-15

Some spots look handy but cause problems:

  • The handguard: It can flex, and you’ll need to re-zero after removing it for cleaning.
  • A gas block rail: The barrel and gas parts flex, move, and heat up when you fire.
  • Side rails (main dot): Most mounts are built to sit level on the top rail.
  • The back of the receiver (main dot): It blocks more of your view and eats magnifier space.
  • A carry handle: Carry-handle mounts put the dot at a height that rarely fits your face. On a flat-top, remove the detachable handle and use the rail.

How to Tell If Your Red Dot Placement Is Right

Run these checks after mounting:

  1. Both-eyes-open test: Shoulder the rifle and look at something far away. The housing should mostly fade from view, and if it feels like a tube, it may be too far back.
  2. Witness-mark check: After your first range trip, look at your paint line. If it’s broken, re-torque and confirm zero.
  3. Handguard-pressure test: If anything sits near the handguard, fire one group normally and one while pressing the handguard on a barricade, where your range allows it. If your hits move, shift the optic back.

Re-confirm zero whenever the optic comes off or moves.

Frequently Asked Questions

Mount Red Dot on Receiver vs Handguard: Which Wins?

The receiver wins for your main optic. Handguards are less rigid and can shift your zero.

How Far Forward to Mount Red Dot on an AR-15?

Mount it as far forward as you can on the receiver rail. For more reach, use a cantilever mount.

Conclusion

Your red dot belongs on the receiver’s top rail, pushed forward, with nothing clamped to the handguard. Magnifiers, offsets, AR pistols, and night vision change the details, but not that core rule.

Find your forward limit, check clearances, seat the mount forward, and record your slot, then run the three quick checks.

Shop Gold Trigger’s red dot sights and optic accessories, or call us at 713-485-5773.

Disclaimer: This article is for educational purposes only and isn’t a substitute for professional gunsmithing, manufacturer instructions, or firearms training. Follow the basic rules of firearm safety, confirm your firearm is unloaded before working on it, and use your mount maker’s torque specs. Confirm zero at a safe, approved range. You’re responsible for following all federal, state, and local laws, including rules on AR pistols and short-barreled rifles. Gold Trigger assumes no liability for damage, injury, or legal consequences from the use or misuse of this information or the products referenced here.

Leave a Reply

Your email address will not be published. Required fields are marked *

Shopping cart0
There are no products in the cart!